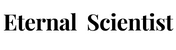
At a first glance, we may presumptuously remark that this is just a simple, old-fashioned typewriter. But let me tell you, this machine is much more than that. Invented by the German Engineer, Arthur Scherbius, the device was extensively used by the Nazis during the infamous WWII. The Nazi-led German forces employed "The Enigma" in army, air, and naval operations. The Enigma was considered safe and secure enough to transfer the most decisive, and TOP SECRET messages to and fro the Nazi forces.
 |
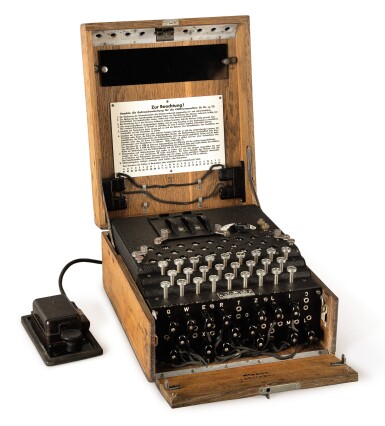
| Unknown authorUnknown author, Marian Rejewski 1932 small , CC BY-SA 2.5 |
 |
| Alan Turing |
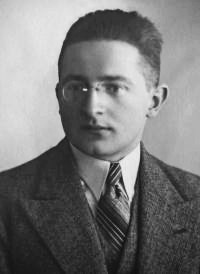
How To Encrypt/Decrypt?
- Keyboard - Where you type the message you wish to encrypt.
- Plugboard - Another scrambling point for the letters, only used by the military to increase the complexity and unpredictability of the Enigma manifold.
- Lampboard - This is where the newly encrypted letter/alphabet lights up
- Rotors - The place where the message gets scrambled.
Finally, to create your own enigma code, type in your message on the keyboard, and note down the letters lighting up on the lampboard. If you require to relay this message forward, an electrical telegraph must be utilized. So, even if the message gets intercepted by the enemy forces, their lack of knowledge about the code will impede them from deciphering the secret message.
To Decrypt we must make use of an identical enigma machine with similar settings and configurations and type the encrypted message on the keyboard, which will light up the hidden letters on the lampboard.
Inside The Enigma
Rotors
 |
| wapcaplet This image was created with Blender ., Enigma rotor set , CC BY-SA 3.0 |
Rotors are interconnected structures that interchange letters. As we can observe, there are 3 rotors illustrated above. As electricity passes through all of the 3 rotors, the letters get arbitrarily interchanged.
 |
| User:RadioFan , Enigma rotor wiring , CC BY-SA 3.0 |
This is a dissembled rotor, where we can observe that wires inside the rotors are arranged whimsically. So, a single turn of a single rotor will alter the path of the circuit. The first rotor when completes a full revolution(360 degrees) the second rotor turns one notch. Similarly, after the second rotor makes a full turn, the third rotor again turns one notch, increasing the unpredictability of the machine even further.
Plugboard
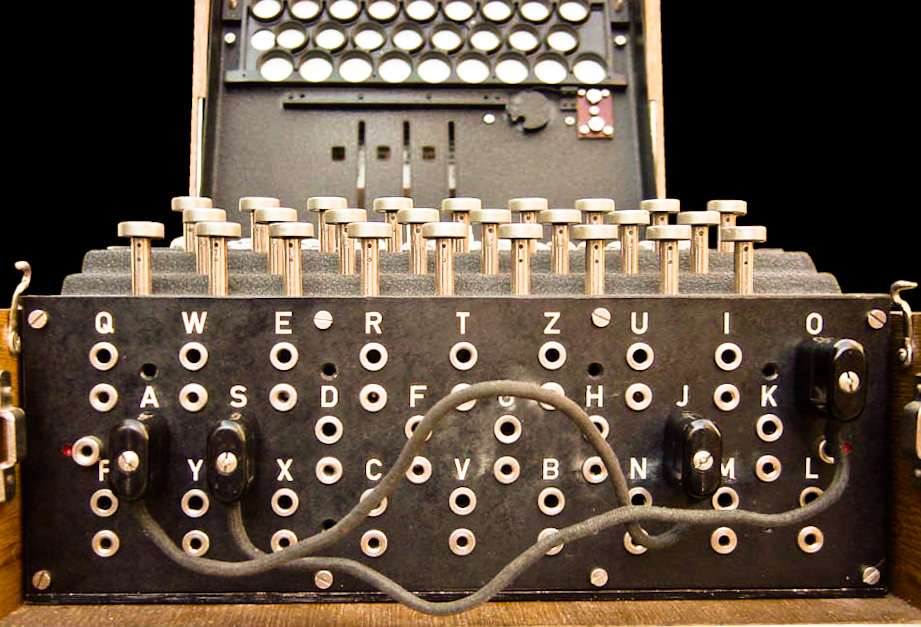
The plugboard increases the intricacy of this device. It enables the user to change the code manually using 10 pairs of switches, which interchange 10 pairs of letters. So, if electricity enters through wire A from one switch, it will come out as O from the other. But, since, 3 pairs of letters are left alone, they will not get interchanged. This implies that when a current passes through the plugboard as H, it MAY or MAY NOT get interchanged. But, in the case of rotors, they surely will.
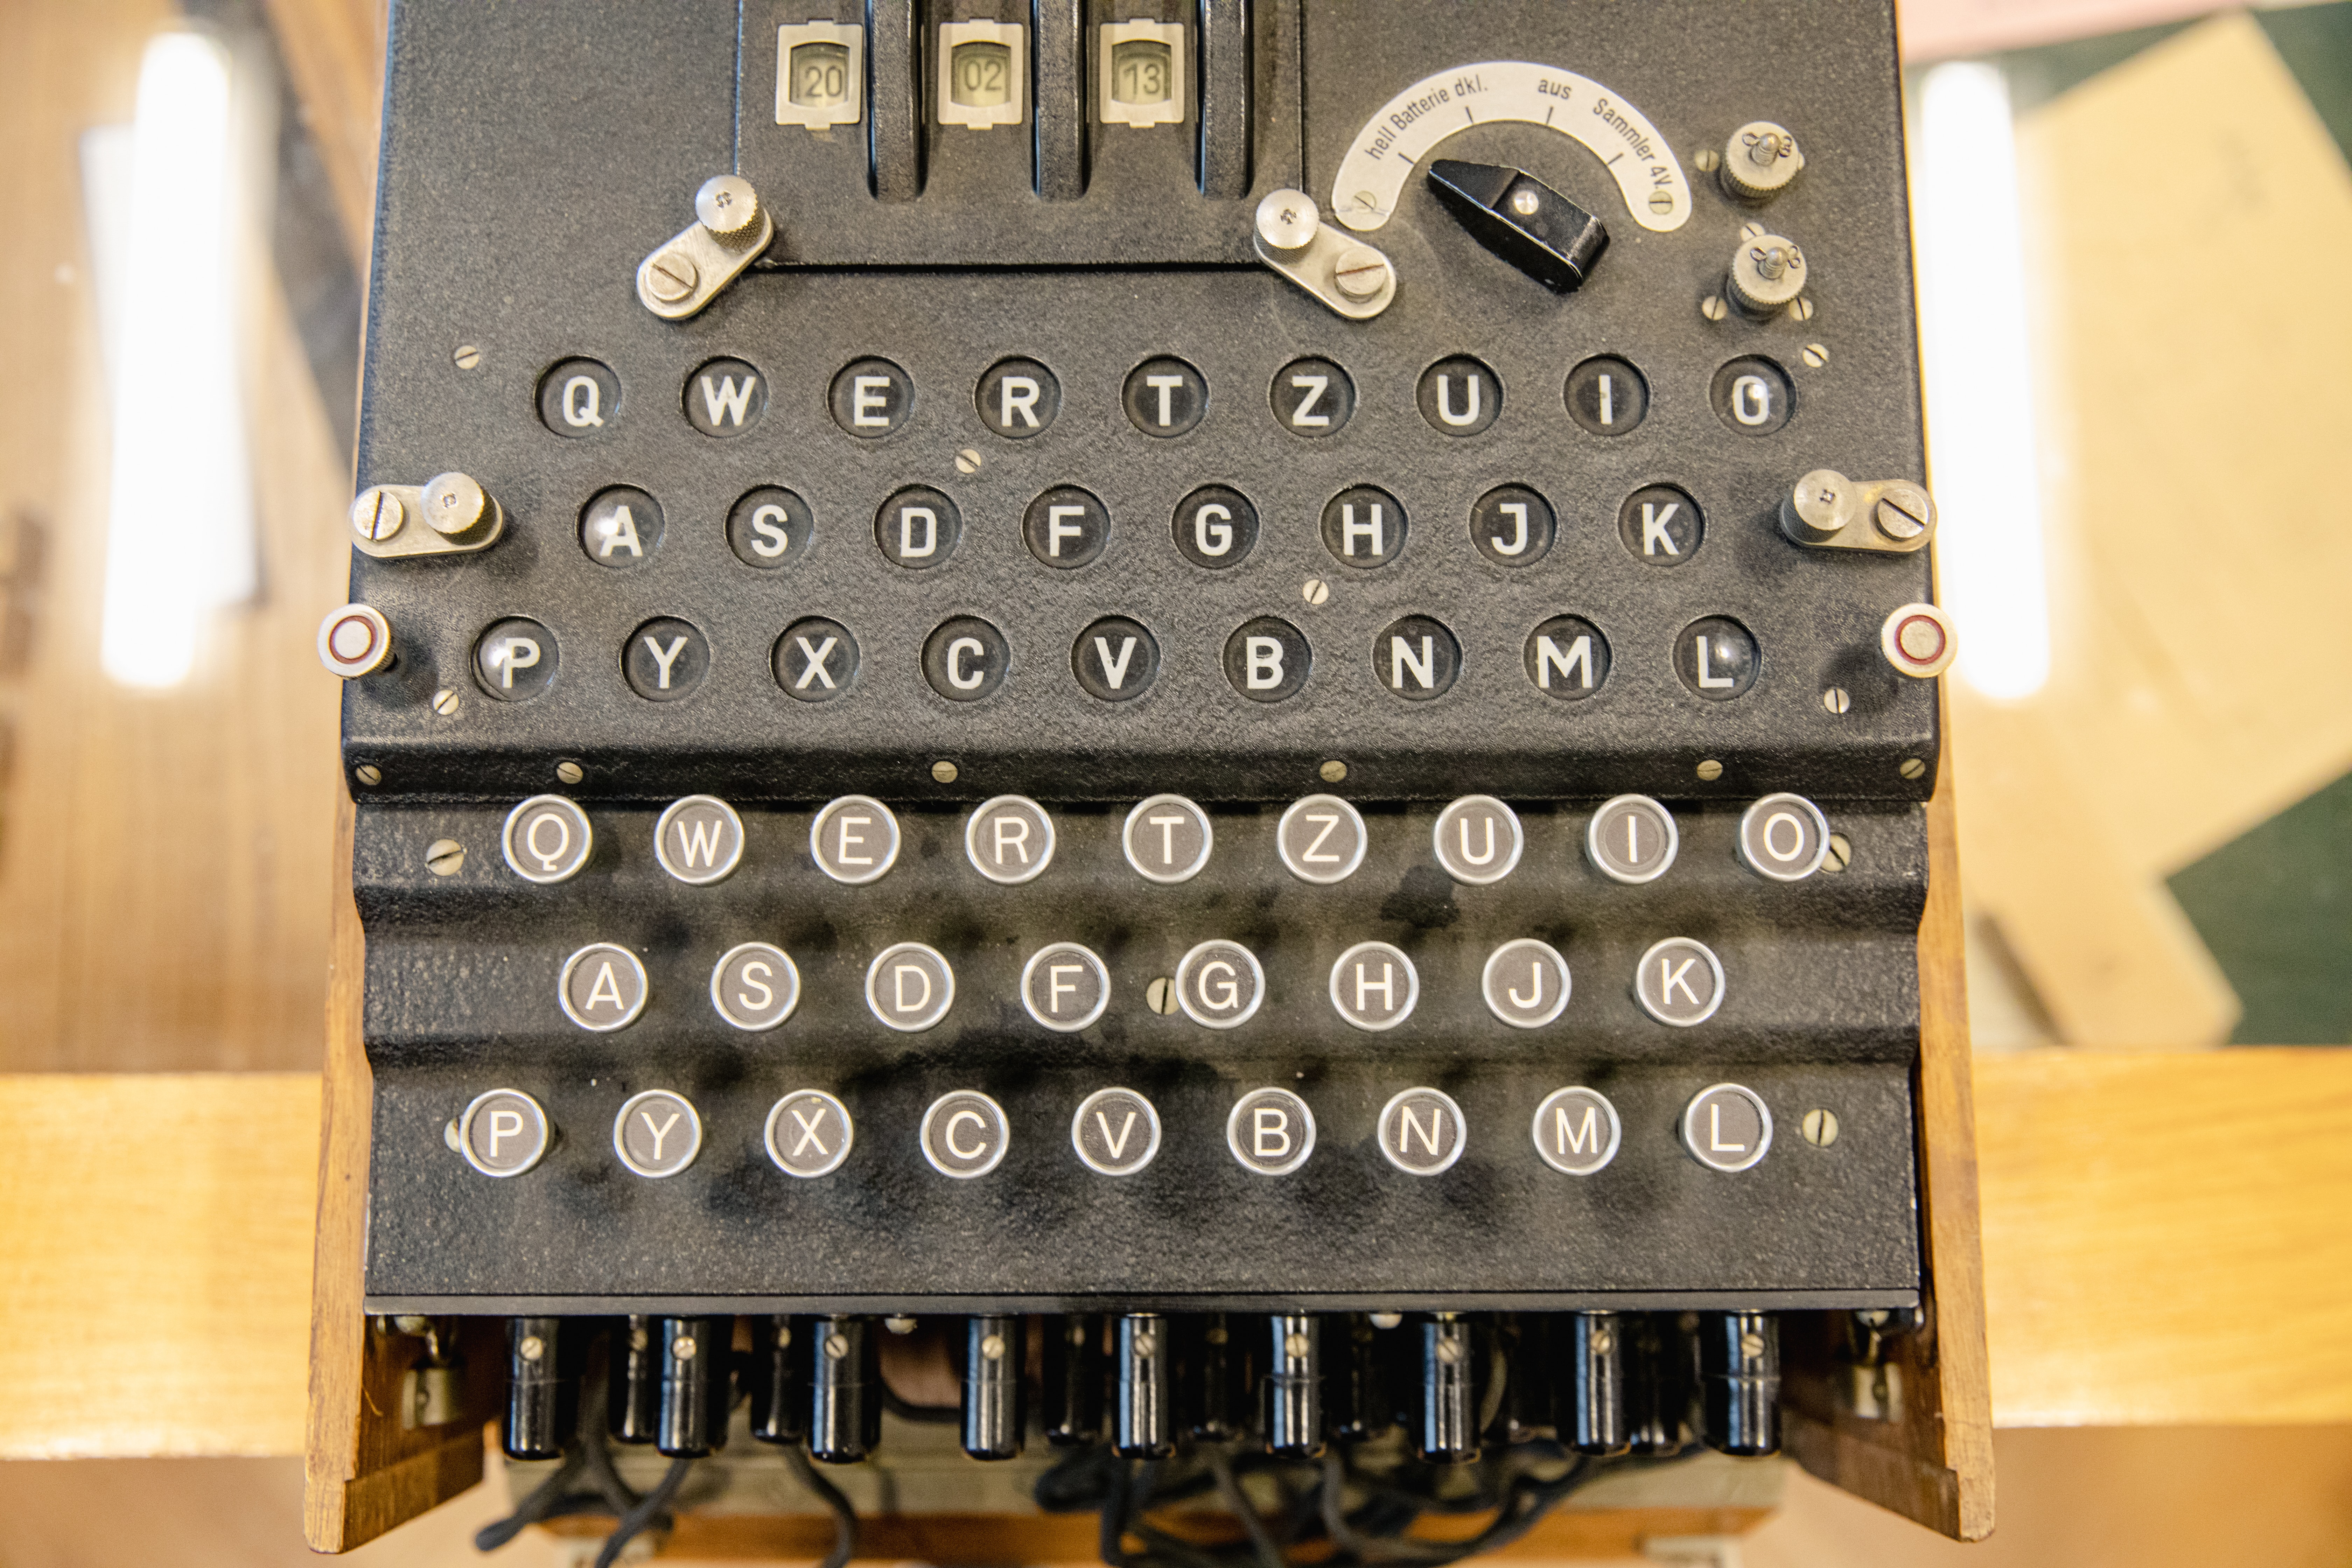
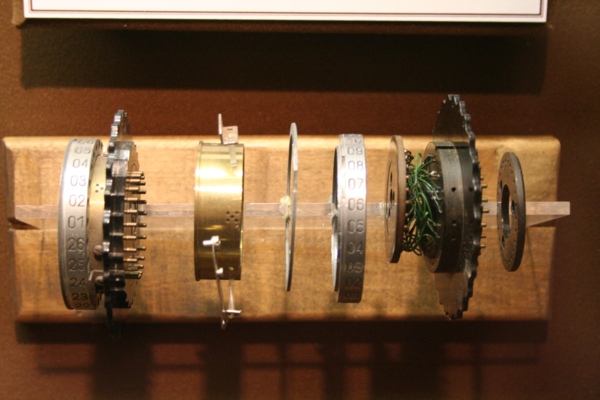
Keyboard

Underneath the keyboard, screw-like structures held by springs are present, once pressed the spring naturally gets compressed, releasing the key returns to its original position. The upper keys are firmly supported by a spring from the top.

Each key has a switch beneath it to manipulate the circuit of the device. This switch has 3 copper-colored metal tabs(each of them connected to - the light bulbs in the lampboard, plugboard, and the battery of the machine respectively) with the middle tab touching the upper tab when the key is not pressed.

When the key gets pressed, the middle tab gets pulled down to ultimately come in contact with the third tab, therefore completing the circuit, since the third tab is connected to the battery.
Internal Mechanism
Now that we have covered all the salient features of The Enigma, we can proceed to learn the internal mechanism of this unbeatable cipher machine.
The current flowed through the device in the following order:
- Battery
- Key Switch(in keyboard)
- Plugboard
- Rotors
- Plugboard
- Key Switch
- Light Bulb(in lampboard)
- Battery
Let's get a closer look at the circuit:
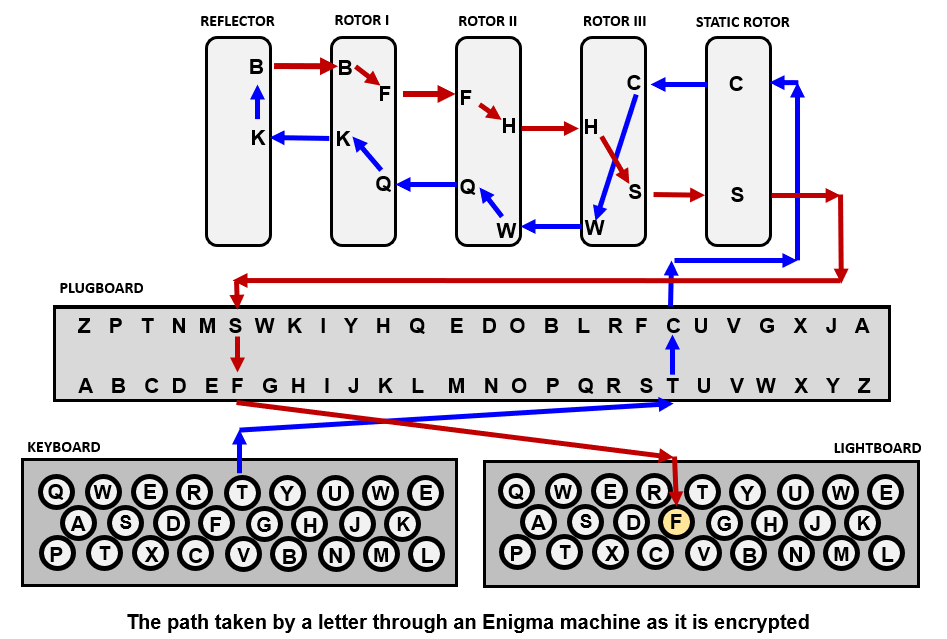
When a key is pressed, current from the battery reaches the key switch present beneath the pressed key. The plugboard and the battery now become connected, since the middle tab is brought down to come in contact with the third tab. Therefore the current flows through wire T(as shown in the fig above) into the plugboard only to come out as C. Then, the current flows through the rotors, and one by one the arbitrary interchange of letters take place. A "Reflector" or "Umkehrwalze" ('reversing motor' in german) is present along with the rotors, which also contain scrambled wires to interchange letters.
Following this, the current flows through the plugboard again, in this case, the letter S gets altered into the letter F. Since, the user is pressing the original key(here, T), the letter F is undisturbed. Therefore, the middle tab of the key switch of the letter F is in contact with the upper tab(in contact with the light bulb in the lampboard)
 |
| When the key is undisturbed, the middle tab touches the upper tab |
Hence, current from the plugboard, through the key switch, travels to the lampboard - where the letter F bulb lights up!!
This marks the end of your Enigma journey!! Keep Learning!!
"Sometimes it is the people who no one imagines anything of who do the things that no one can imagine."
--Alan Turing


0 Comments